Building a Fastio MCP Client in TypeScript: A Step-by-Step Guide
Building a Fastio MCP client in TypeScript lets your Node.js agents discover and run Fastio workspace tools. Most existing documentation focuses on building servers, leaving developers unsure how to write the client code. This guide shows you how to configure the SDK and establish a Streamable HTTP connection so you can execute remote tools without writing custom integration wrappers.


How to implement Building a Fastio MCP client in TypeScript reliably
Building a Fastio MCP client in TypeScript lets your Node.js agents discover and run Fastio workspace tools like search and file generation via the Model Context Protocol.
Most current tutorials focus on creating Model Context Protocol servers. This leaves developers guessing how to build the client-side applications that connect to them. A client initiates the connection, asks the server about its capabilities, and tells it what to do. Building a client lets you orchestrate external systems through a standardized, typed interface. According to Model Context Protocol documentation, MCP standardization reduces custom integration code by up to 80%.
Fastio works as a shared workspace for agents and humans. Connecting your custom TypeScript agent to Fastio via this protocol gives it instant access to a consolidated MCP toolset. Instead of writing custom HTTP wrappers for every API endpoint, your agent can ask the Fastio server for its tool list and run them directly. This approach simplifies your agent's architecture and keeps your codebase maintainable as Fastio adds new features.
Developers building AI workflows need reliable ways to coordinate systems. Fastio provides this layer through secure file storage and intelligent indexing, which powers its built-in retrieval-augmented generation. Your custom TypeScript client connects your local AI model to this remote workspace.
Helpful references: Fastio Workspaces, Fastio Collaboration, and Fastio AI.
Related guides
- How to Build a Fastio MCP Client in SwiftBuilding a Fastio MCP client in Swift requires establishing an SSE or HTTP connection to the Fastio MCP server to...
- Building a Fastio MCP Client in Rust: A Developer GuideBuilding a Fastio MCP client in Rust allows high-performance backend systems to securely interact with agentic file...
- How to Build a Fastio MCP Client in GolangGuide to building fastio mcp client golang: A Fastio MCP client in Golang uses Go's native concurrency model to...
- How to Build a Fastio MCP Client in C# .NETBuilding a Fastio MCP client in C# .NET allows enterprise applications to securely consume intelligent file operations...
- How to Build a Fastio MCP Client in ElixirBuilding a Fastio MCP client in Elixir uses OTP to maintain highly resilient, concurrent agent workspaces that...
- How to Build a Fastio MCP Client in PythonBuilding a Fastio MCP client in Python enables seamless file management capabilities within Python-based AI agent...
More on this subject: MCP and Model Context Protocol (244 guides)
What to check before scaling Building a Fastio MCP client in TypeScript
A Model Context Protocol connection consists of a transport layer and a session layer. The transport layer handles moving data between your client and the server. The session layer manages the logical conversation, handling tool discovery, execution requests, and resource reading.
For cloud-based services like Fastio, the preferred transport is Streamable HTTP, with a legacy SSE endpoint also available. This transport lets the client send commands via standard HTTP POST requests while receiving asynchronous updates through a persistent event stream, which works well for agentic workflows. Tool execution can sometimes take several seconds, so the persistent stream prevents connection timeouts.
Your TypeScript application will use the official @modelcontextprotocol/sdk package. It provides abstract classes for both the client and the transport layer. You instantiate a transport object with the Fastio endpoint URL and your authentication headers. Then, you pass this transport to a new client instance. The client manages JSON-RPC message formatting, tracks message IDs, and handles promise resolution.
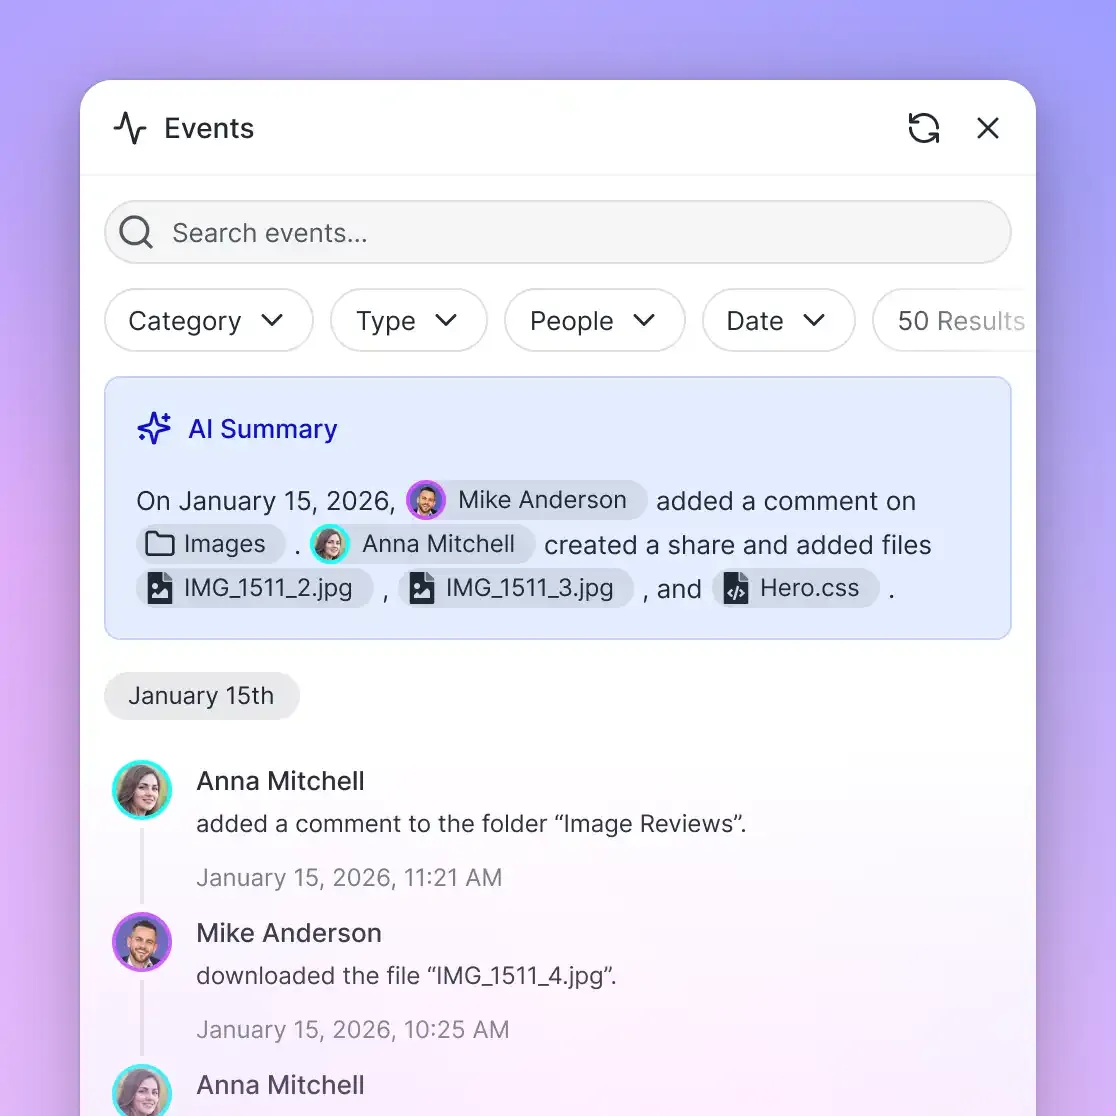
Setting Up Your Development Environment
Before writing any connection logic, prepare your Node.js project. We recommend using a current Node.js release and strict TypeScript compiler settings to catch type errors early.
Initialize a new project and install the required dependencies:
mkdir fastio-mcp-client
cd fastio-mcp-client
npm init -y
npm install @modelcontextprotocol/sdk
npm install -D typescript @types/node ts-node
npx tsc --init
Open your tsconfig.json file. Make sure strict mode is enabled and the target is set to at least ES2022. This ensures compatibility with the JavaScript features used by the Model Context Protocol SDK.
Next, you need an authentication token from Fastio. You can generate this token from your Fastio developer dashboard. For local development, store this token in an environment variable instead of hardcoding it into your TypeScript files. Create a .env file in your project root:
FASTIO_MCP_TOKEN=your_token_here
FASTIO_WORKSPACE_ID=your_workspace_id
You also need a tool to load these environment variables, like dotenv. Install it using npm install dotenv. With the environment ready, you can start building the client wrapper class to manage your connection.
Implementing the Connection Logic
The core of your application is the client initialization. Create a StreamableHTTPClientTransport pointing to the Fastio server endpoint, then connect a Client instance to this transport.
Create a file named FastioMcpClient.ts and add the following implementation:
import { Client } from "@modelcontextprotocol/sdk/client/index.js";
import { StreamableHTTPClientTransport } from "@modelcontextprotocol/sdk/client/streamableHttp.js";
import * as dotenv from "dotenv";

dotenv.config();

export class FastioMcpClient {
  private client: Client;
  private transport: StreamableHTTPClientTransport;

constructor() {
    const token = process.env.FASTIO_MCP_TOKEN;
    if (!token) {
      throw new Error("Missing FASTIO_MCP_TOKEN environment variable.");
    }

// Initialize the Streamable HTTP transport with the Fastio tools endpoint
    this.transport = new StreamableHTTPClientTransport(
      new URL("https://mcp.fast.io/mcp/tools"),
      {
        requestInit: {
          headers: {
            "Authorization": `Bearer ${token}`
          }
        }
      }
    );

// Create the client instance with basic metadata
    this.client = new Client({
      name: "typescript-custom-agent",
      version: "1.0.0"
    }, {
      capabilities: {}
    });
  }

public async connect(): Promise<void> {
    console.log("Connecting to Fastio MCP server...");
    await this.client.connect(this.transport);
    console.log("Connection established successfully.");
  }

public async disconnect(): Promise<void> {
    await this.transport.close();
  }
}
This class handles the setup by passing the authentication token to the StreamableHTTPClientTransport, which requires a URL object and an optional requestInit object carrying the HTTP headers. The Client constructor takes objects describing your application and the capabilities it supports. For most basic agents, an empty capabilities object works well.


Give Your AI Agents Persistent Storage
Connect your custom TypeScript applications to a workspace built for AI. Get generous cloud storage and access to a consolidated MCP toolset.
Discovering Available Workspace Tools
Once the connection is established, your agent needs to know what actions it can perform. The Model Context Protocol uses a discovery mechanism where the client requests a list of available tools. The server responds with an array of tool definitions. These include the tool names, descriptions, and expected JSON schemas for their arguments.
Add a new method to your FastioMcpClient class to retrieve this list:
public async getAvailableTools() {
  try {
    const response = await this.client.listTools();
    console.log(`Discovered ${response.tools.length} tools.`);

    for (const tool of response.tools) {
      console.log(`Tool: ${tool.name}`);
      console.log(`Description: ${tool.description}`);
    }

    return response.tools;
  } catch (error) {
    console.error("Failed to list tools:", error);
    throw error;
  }
}
When you run this method against the Fastio server, you will see the full list of capabilities. These include tools to upload files, create text documents, and search the neural index. You can also transfer workspace ownership or read workspace activity events.
This dynamic discovery is a major advantage. Your agent won't need a hardcoded list of Fastio endpoints. When Fastio releases a new capability, your agent automatically sees the new tool in its listTools response. It can then present this tool directly to your language model for execution.
Executing Tools and Handling Responses
To execute a tool, call the callTool method on your client instance. Pass in the exact tool name along with an object containing arguments that match its JSON schema.
Fastio provides tools to generate files inside a workspace. Here is how you write a method to call a file generation tool:
public async createWorkspaceFile(filename: string, content: string) {
  console.log(`Executing tool to create ${filename}...`);

  try {
    const result = await this.client.callTool({
      name: "upload",
      arguments: {
        action: "stream-upload",
        profile_type: "workspace",
        profile_id: process.env.FASTIO_WORKSPACE_ID,
        parent_node_id: "root",
        filename: filename,
        content: content
      }
    });

if (result.isError) {
      console.error("Tool execution failed.");
    }

// The result content is an array of content objects
    for (const item of result.content) {
      if (item.type === "text") {
        console.log("Server response:", item.text);
      }
    }

return result;
  } catch (error) {
    console.error("Error communicating with server:", error);
    throw error;
  }
}
The callTool method returns a result object with an isError flag and a content array. Because the protocol supports multi-part responses, a single tool might return text, JSON data, and an image all at once. Your TypeScript client needs to iterate through this array and handle each item based on its type.
Managing Agent Concurrency and File Versions
In multi-agent systems, several agents might operate on the same Fastio workspace at once. When multiple agents collaborate on shared files, tracking versions is essential.
Fastio coordinates concurrent agent operations through advisory file locks alongside automatic version history, granular permissions, and a detailed activity log. An agent can call the storage tool with the lock-acquire action before editing, heartbeat the lease while working, and release it when done. If another agent tries to lock the same file, it receives an HTTP 409 and can wait. Because locks are advisory, Fastio's version history preserves every revision as a safety net.
public async safeFileUpdate(filename: string, content: string) {
  // Perform the update while Fastio automatically versions the file
  const result = await this.createWorkspaceFile(filename, content);
  console.log(`Updated ${filename} with version history preserved.`);
  return result;
}
This pattern keeps your agents well-behaved in shared environments. They can safely build directory structures and generate files, then transfer full administrative ownership of the workspace back to a human.
Handling Remote URL Imports
Fastio's URL import feature is another useful tool for your TypeScript client. Instead of downloading a large file to your local Node.js environment just to upload it again, your agent can tell Fastio to pull the file directly from its source.
This avoids local I/O bottlenecks and saves bandwidth. Your client calls the URL import tool with the external URL and destination path. Fastio pulls the file into the workspace and automatically processes it for semantic search indexing.
These patterns let your TypeScript agents treat Fastio like an operating system for AI workflows. The protocol provides the vocabulary, and Fastio provides the execution environment.
Sources
References used to verify factual claims in this guide.
-
MCP standardization reduces custom integration code by up to 80%.
Frequently Asked Questions
How do I build an MCP client in TypeScript?
Install the official `@modelcontextprotocol/sdk` package via npm. Initialize a `StreamableHTTPClientTransport` with the target server URL and your authentication headers, and pass that transport to a new `Client` instance before calling `client.connect()` to establish the session.
How to connect to Fastio MCP server from Node.js?
Point your client transport to `https://mcp.fast.io/mcp/tools`. Include your Fastio API key in the HTTP headers using the Authorization Bearer format so your Node.js application can discover and run workspace tools.
What is the TypeScript SDK for Fastio MCP?
Fastio relies on the standard Model Context Protocol, so you use the official `@modelcontextprotocol/sdk` instead of a proprietary library. This keeps your code portable and helps you benefit from community updates to the core protocol.
Can I use Server-Sent Events (SSE) with MCP?
Fastio uses Streamable HTTP rather than legacy SSE. Point your client transport to `https://mcp.fast.io/mcp/tools` with an Authorization Bearer header to connect directly over Streamable HTTP.
How does Fastio handle concurrent agent operations?
Fastio coordinates concurrent operations with advisory file locks via MCP storage actions (`lock-acquire`, `lock-status`, `lock-release`). Another agent attempting to lock the same file receives an HTTP 409 and can wait, while automatic version history preserves every write.
Related Resources

Give Your AI Agents Persistent Storage
Connect your custom TypeScript applications to a workspace built for AI. Get generous cloud storage and access to a consolidated MCP toolset.